

This March we will be experimenting with our home and our capacity to be a B&B. We both have the desire to do this and now that our youngest is almost out of high school I think it's a good idea to figure out if it is really for us. My brother-in-law is bringing four colleagues with him next month for a conference. We will host...and see.

I jumped at the news and immediately went to work on the worst room; the schizophrenic room. This room has now been three colors with no real vision.
The first color was just a basic light brown. We chose it for most of the rooms because it was a great neutral and went well with the green carpet Mark chose. Now, I know that looking at this photo and the one below it, they look alike. Be assured that the new paint is WAY different. More grey-brown and less green-brown

about 2 years ago the room was transformed to a soft yellow that turned out to only be "soft" for a few hours of the day. With three skylights and two windows this tiny room has quite the brilliant southwestern lighting .

Every time I found items I loved, I would toss them in there thinking that one day all of these colors would magically go together because I loved them all equally. This is not a good idea. This is the mentality of a newbie hoarder. But a hoarder with fantastic style.
So away went the yellow and in came Chiffon by Evolution through Miller Paint. I chose this to match the bed spread I finally settled on. Originally I chose this for my bedroom but because we are upgrading to a king I am forced to give it up to another room. I posted about it when I changed my bedroom color to compliment it HERE.

I then searched for a William Morris type wallpaper but couldn't find one I liked under $130 a roll. Though I was only doing one wall, it would take three rolls!!
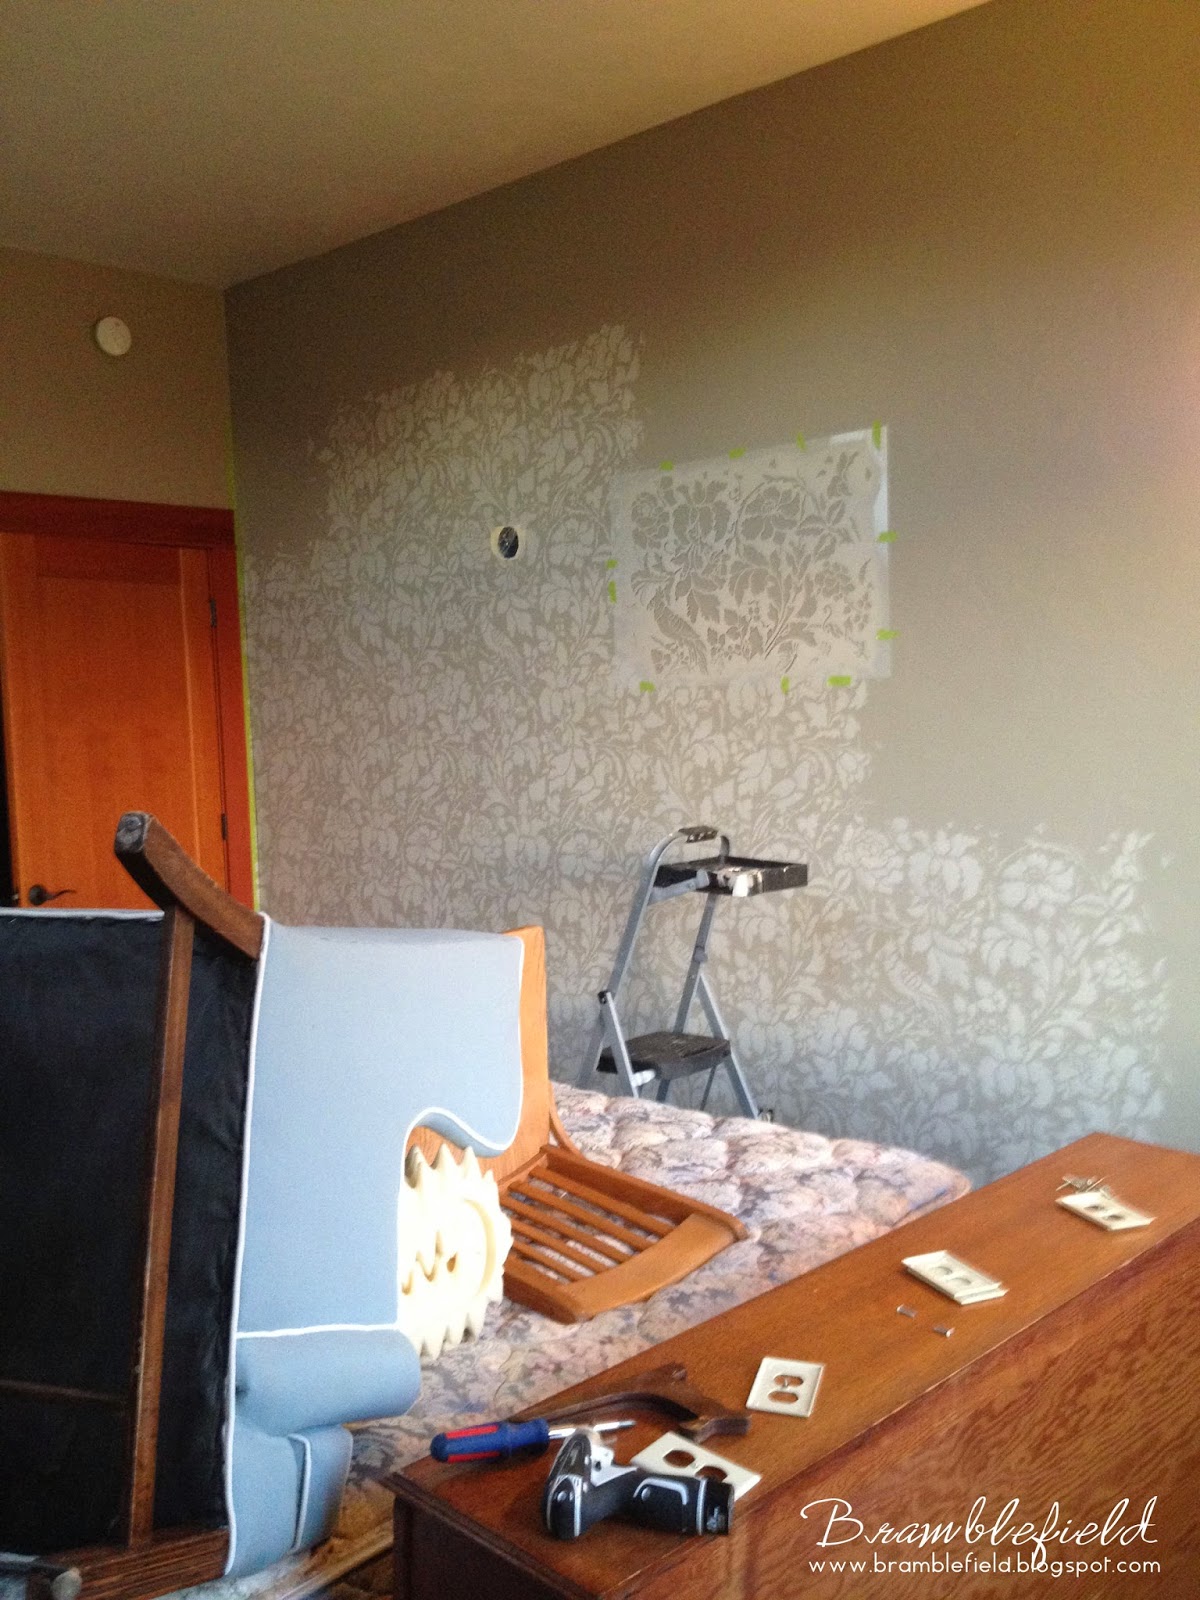
So I went with a stencil by Royal Design that cost $99. Plus they send you a free stencil of the month that I'm sure I can use on a future project.
Because I was wanted the pattern to stop at the corner without a distinctive stencil line, I started the pattern just a foot or so away from the corner and worked my way up.

It takes 2 large stencils to make the pattern. They are clearly marked A and B with a few repeats that you can line up with the stencil you just painted. This also allows the stencil a second to dry as you alternate.
When doing corners make sure you have it taped well to the adjoining wall so your pattern is even when you use your stencil brush to paint it in. If you rely on stencil spray it can get wonky.

A few things I learned about stenciling:
1. Go ahead and spend the $13 on a stencil leveler. I didn't and it was a hassle the entire time. It is money well spend and you can always use it on another project or just sell it on ebay when you are through.
2. Evolution is a thick paint! Though it goes on beautifully, it builds up on the stencil and makes it quite heavy and awkward to deal with. This may not be the case with other paints but when doing such a huge, vaulted wall I should have washed it off half way through.
3. You can use stencil spray on the back but tape works just as well.
4. Do it in a well lit room without sunlight spreading in. As you can see from above, the light coming in from the window washes it all out and makes it difficult to align your pattern. I ended up working on one side of the wall, moving up rather then across, until the sun was no longer in the way. Curtains would have helped but I had to take them down to paint the room.
5. Only use foam. My foam roller was wonderful and I only used one roller for the whole wall. The stenciling brush has a different constancy and coverage so I just used the basic 1" foam brush to dab in corners and it was perfect and cheap!

Now, this room is almost complete! I just have one wall to get a small table or dresser for and I am done...that is until we add the built ins. But those can wait.
 |
Mirror was found at a garage sale for $15 years ago. I knew some day it would find a home!
|
 |
| The bed's and nightstands were made by Mark. I'm not allowed to buy anything made of wood :) |
 |
| The small wall under the skylights will some day be built-ins but until then it is just the backdrop to a small bookshelf. |
 |
| Top left: Fabric I originally got at Joannes on clearance for another room became the curtains and euro pillow covers with a remnant I found of pumpkin orange for the accent pillows. Right: A fantastic watercolor I found at a local garage sale (meaning out in the sticks) for only $5 Bottom Left: A grouping of handmade bowls that I received as a gift and one of my framed poppy paintings. |

What transformations are you creating during these cold and wet winter months?

Wow Liz! It's gorgeous. Nice work :)
ReplyDeleteHi this is very useful post for everyone. Thank you so much this post. Just about everything looks good displayed. Snapdeal coupon
ReplyDelete